

CUSTOM CABLES
Contact Brad if you need help with a custom cable such as connecting an XT90 to an Ecoflow power station.
Watch Demonstration Video Below
See Bigfoot Bike Generator Owner’s Manual (Instruction Manual) Here
View Bigfoot Product on Amazon
TIME TO CHARGE CELL PHONE: This bike generator takes the same amount of time to safely charge your cell phone as it takes when it charges while pluggede into wall charger. It is no different. For examplel it normally takes 30 minutes to charge with a wall adapter then it will take 30 minutes to charge with this bike generator system.
COUNTRY OF ORIGIN: This item is built in Gilbert, Arizona, USA. Some parts are made outside the US.
WARRANTY: This product has a lifetime warranty . NOTE: The warranty does not cover shipping charges.
SHIPPING: This item ships within 1 to 10 days depending on inventory (Call for an estimate)
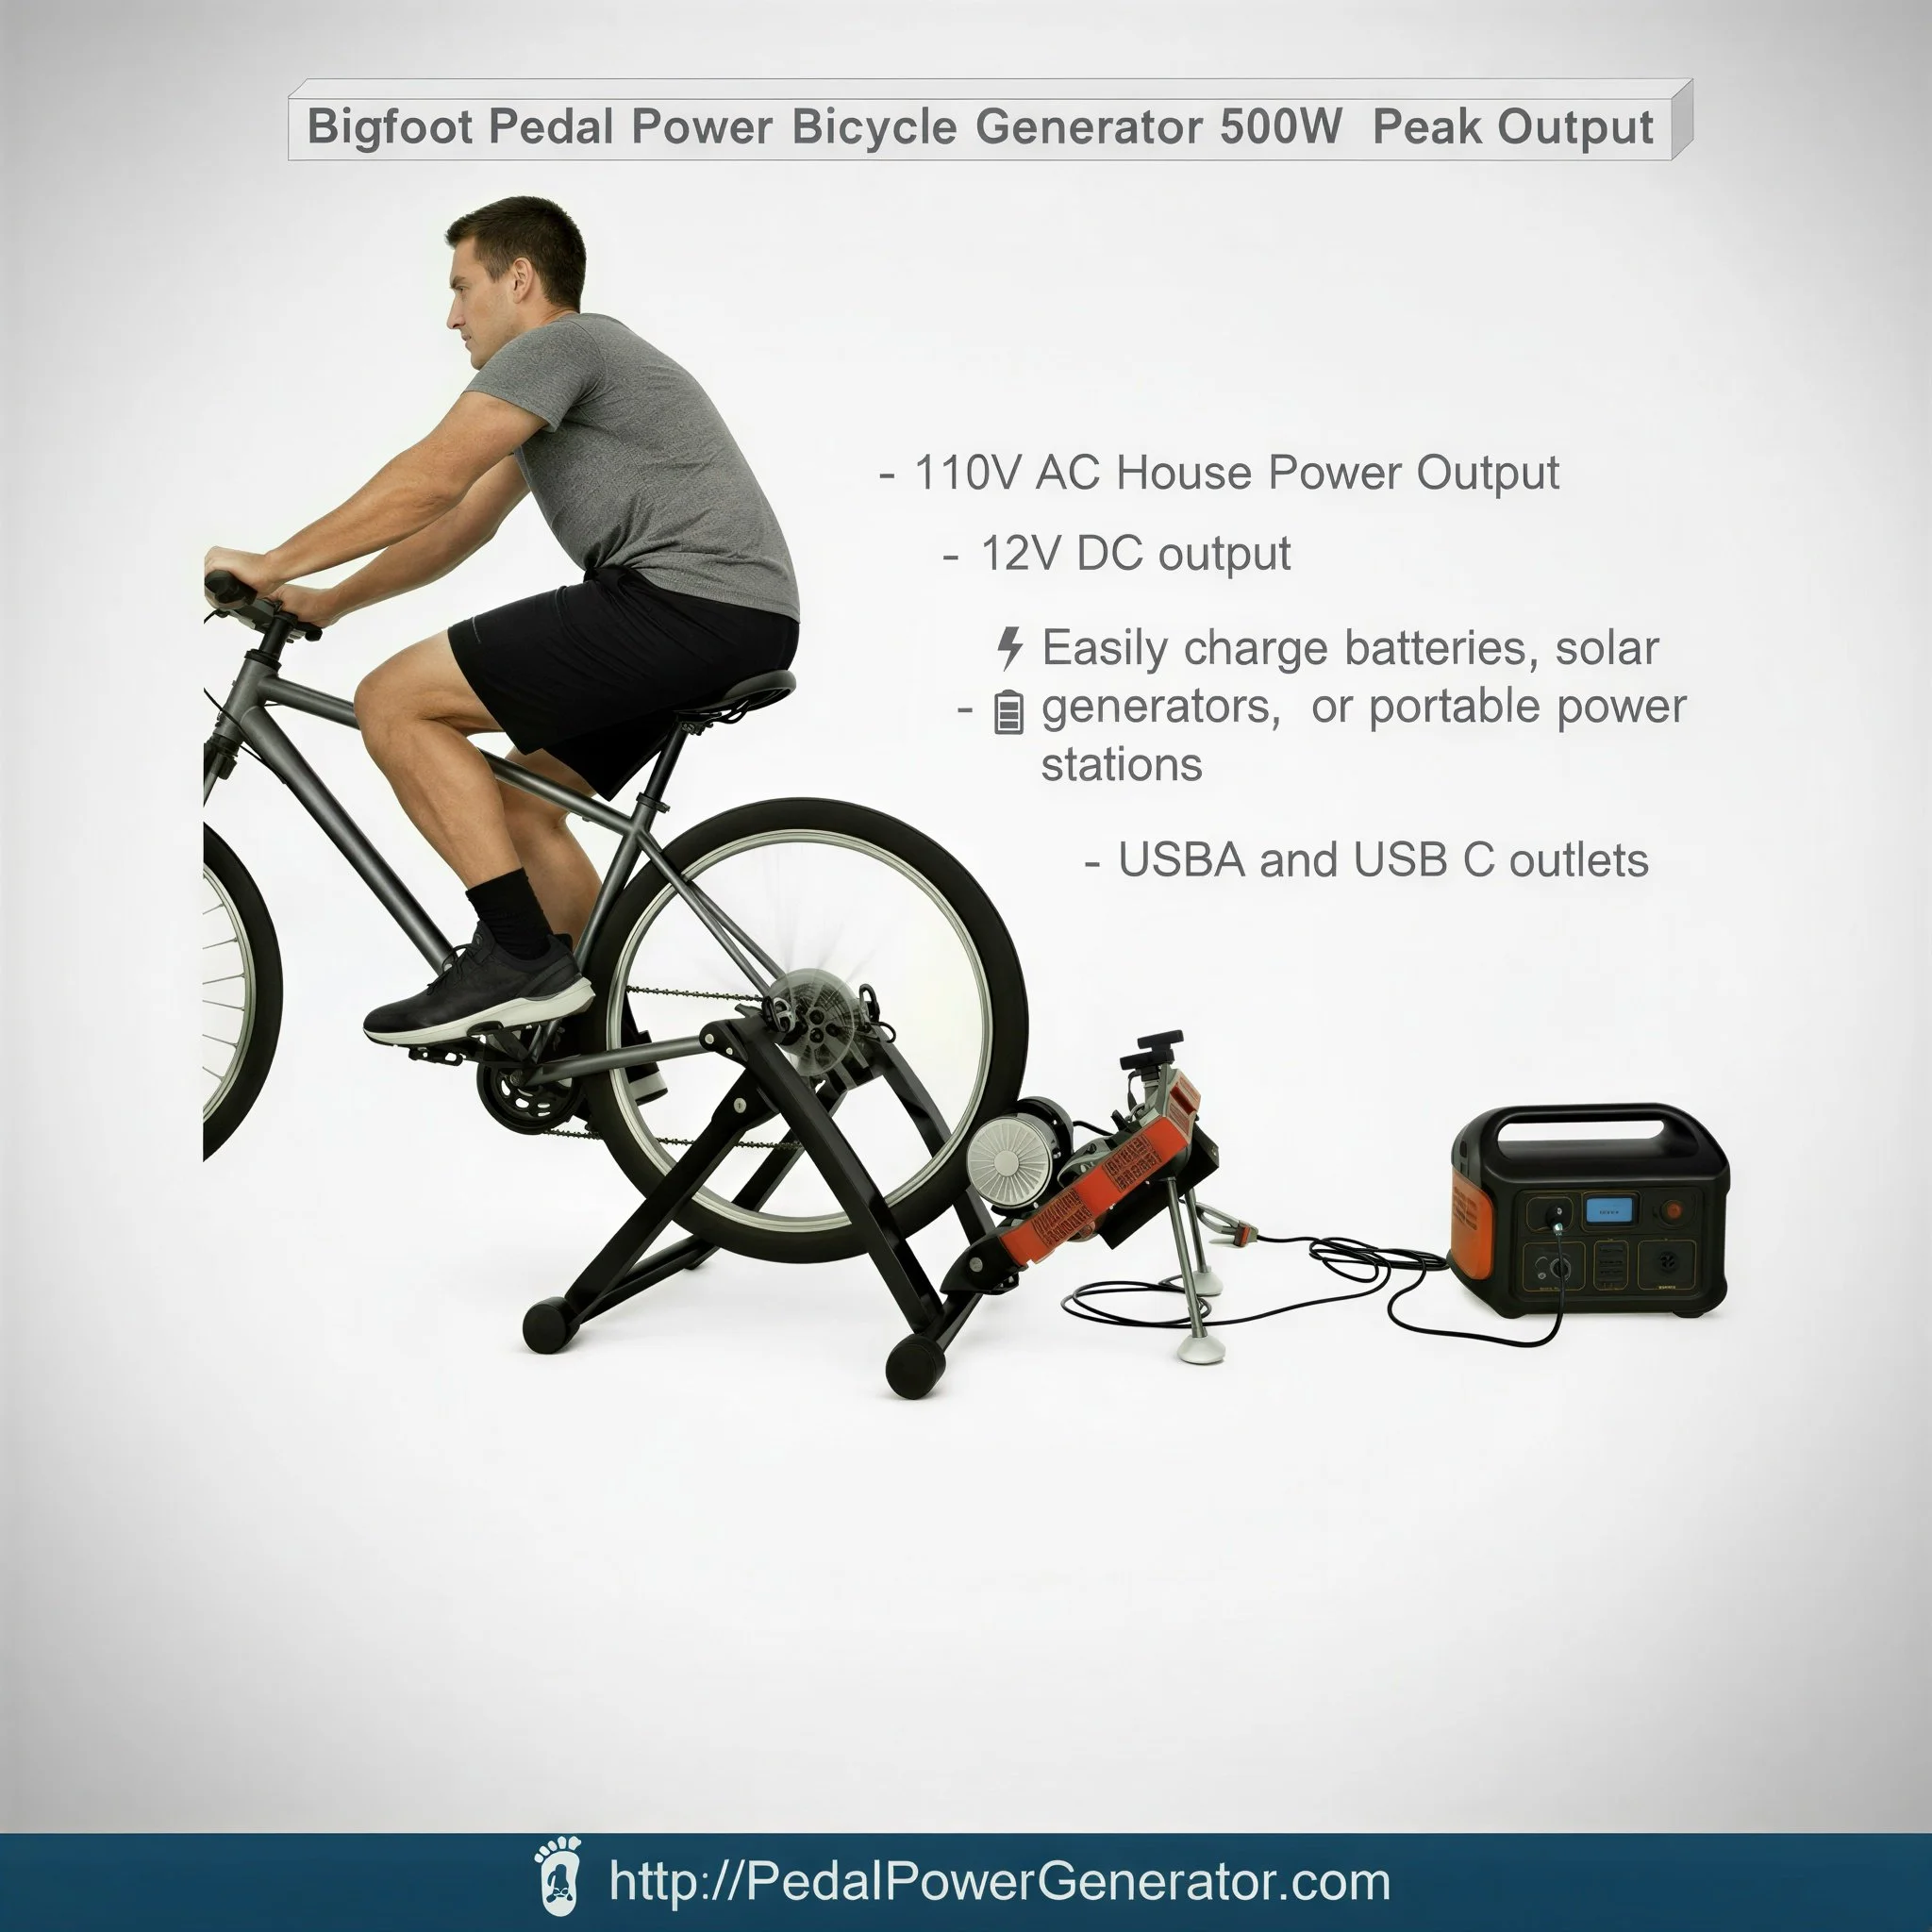
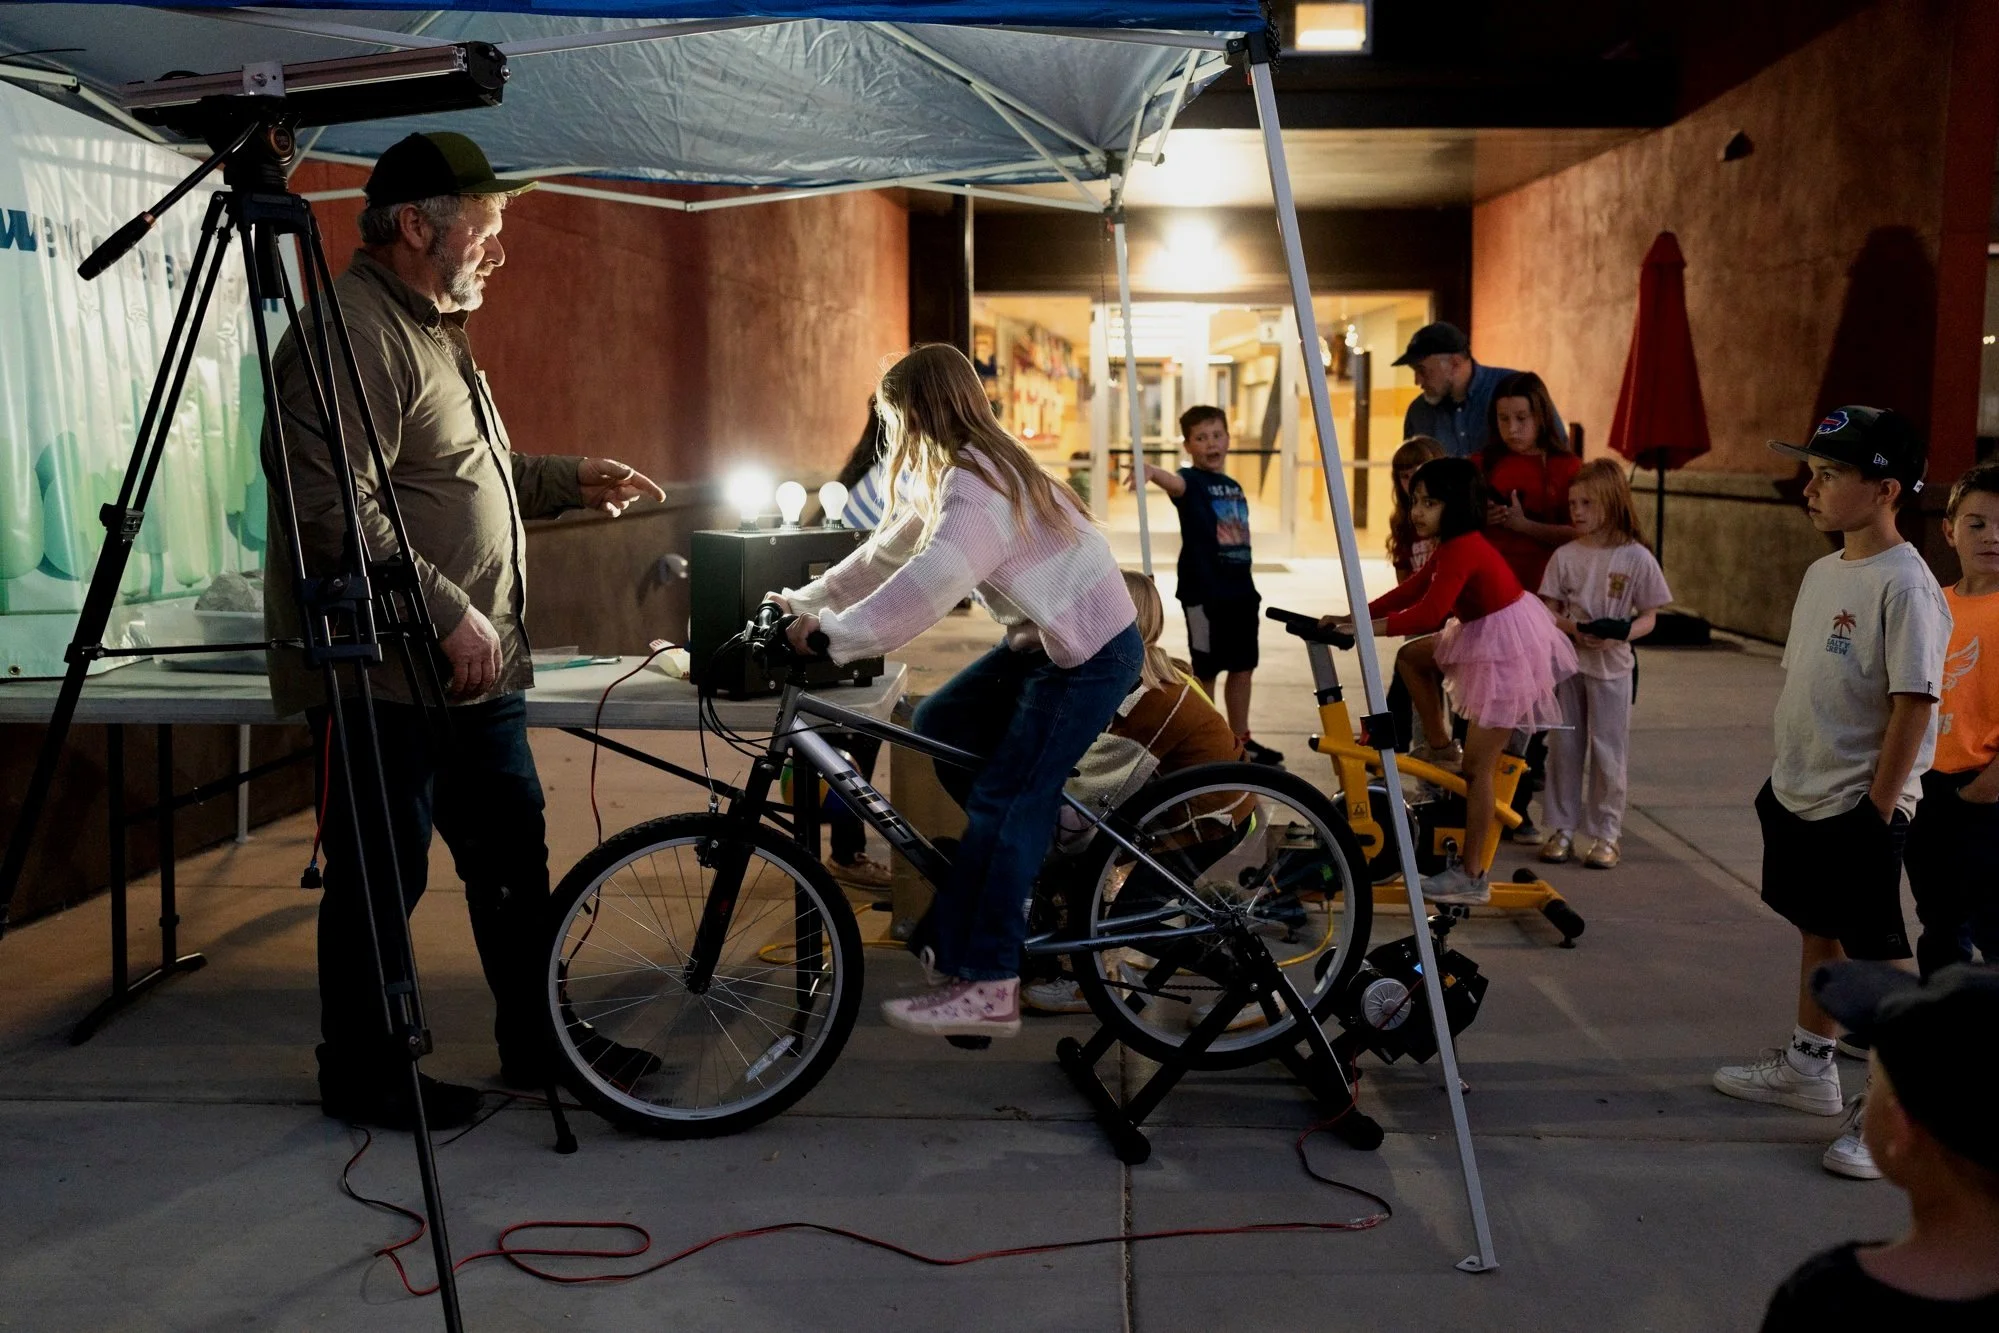
POWER OUTPUT TYPES: The Bigfoot™ is a pedal power bicycle generator system that has 5 types of power output:
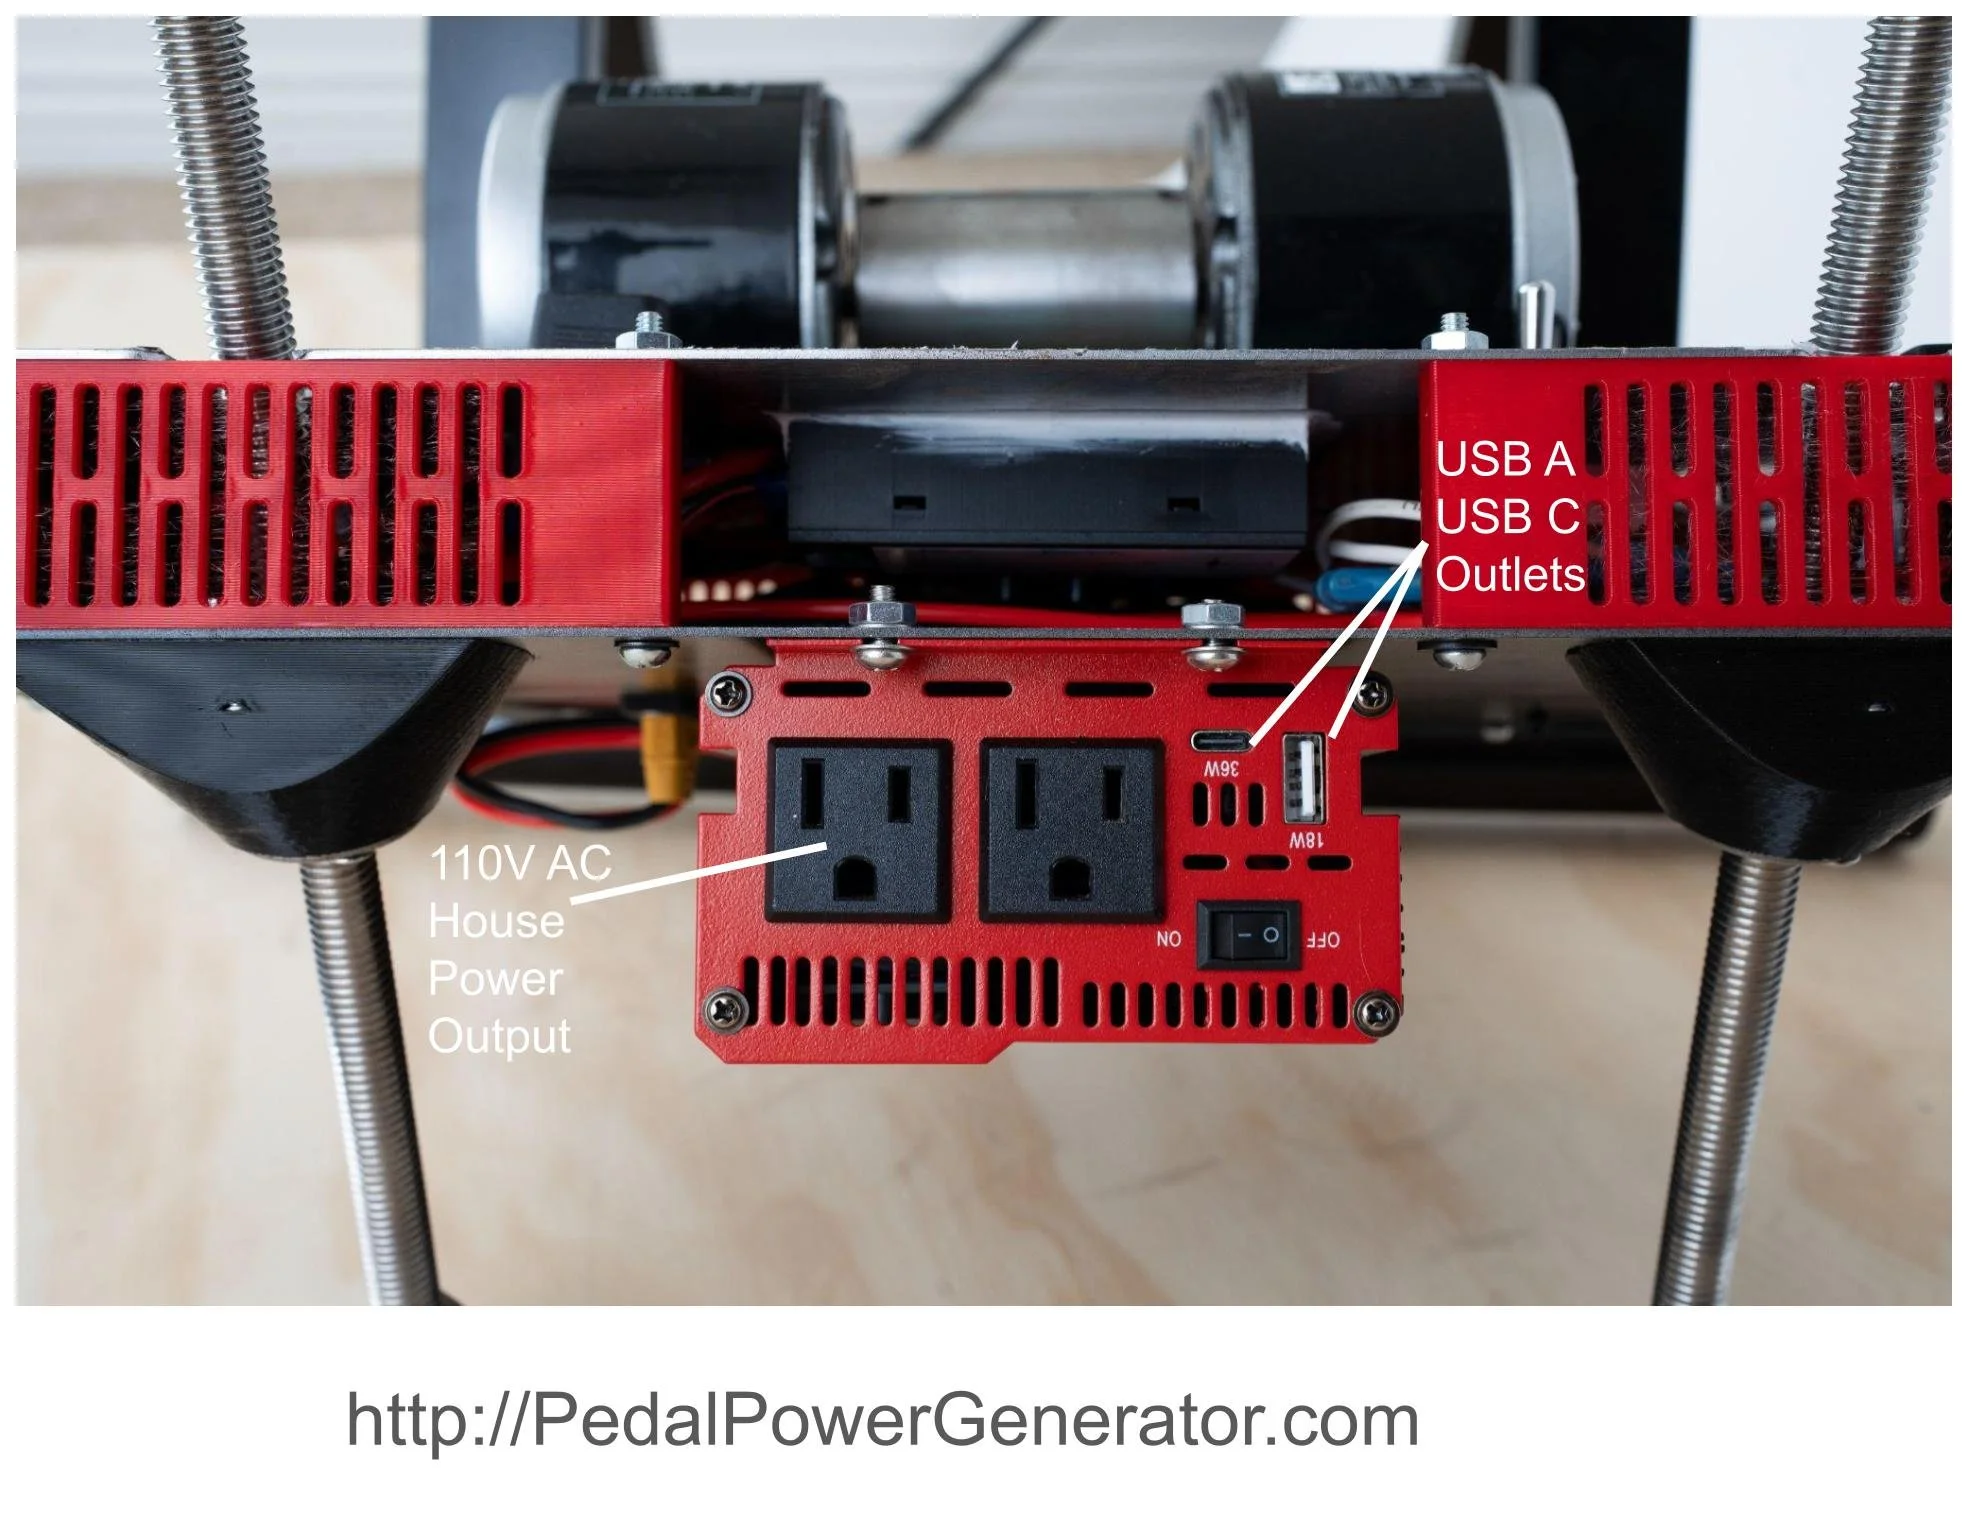
110V AC House power
12V DC (Using built in voltage regulator)
USB C
USB A
Unregulated 0 to 80V DC
MAX POWER OUTPUT
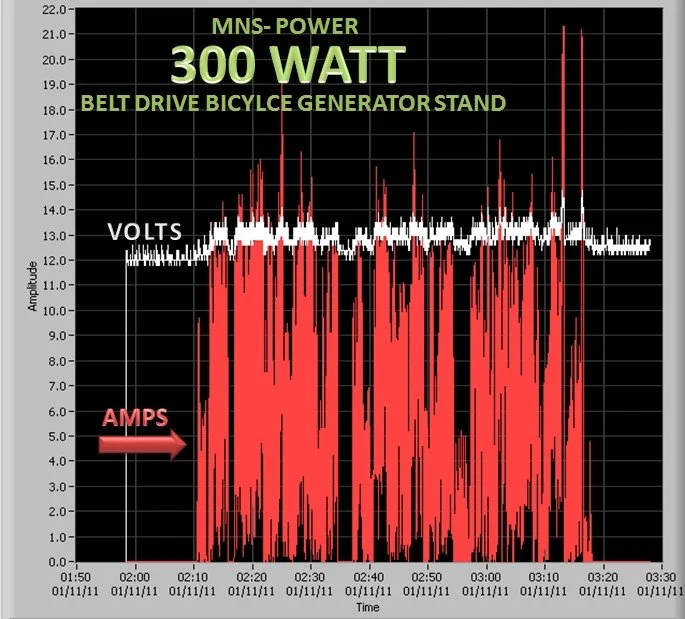
The absolute peak power output of the Bigfoot™ bicycle generator is 500W. Typical output is 100 to 300 Watts depending on physical condition of the rider and what is being powered up.
KEY FEATURES:
Cell phones plug into the USB C or USB A charge ports located on the inverter
This bike generator systems includes two separate physical generators. They are wired together in two configurations: (1) Series connection allows Voltage to be 0 to 80V DC Output (2) Parallel configuration has Voltage range of 0 to 40V DC up to 20 Amps of current
Includes fuse with 20 Amps capacity
Adjustable Voltage regulator that has a default setting 14 Volts DC output (Same Voltage that a car operates at).
Digital power meter that shows real time data of Volts, Amps, Watts, and Watt hours
Able to charge a battery throug a blocking diode
Compatible with XT90 connector which is an industry standard for many companies. Almose any type of cable is available off the shelf with XT90 compatibilty.
THINGS THAT CAN BE POWERED FROM YOUR SYSTEM
A 12V screen display
Lights
Chargers for up to 10 cell phones at one time (5W each)
Blender
Wheat grinder
Laptop computer
Desktop computer
Water pump
Air compressors
HOW LONG DOES IT TAKE TO CHARGE A BATTERY
The data below is based on an assumption that you are an adult in good shape able to put out 100 Watts of power with a heart rate of 102 beats per minute. If the charg voltage is around 12V DC the output current will be 100 / 12 = about 8.3 AMPS. If your battery or portable powerstation / solar generator has a 20 Amp hour rating, then we can get the approximate charging time be dividing 20 / 8.3 = 2.4 Hours.
WHAT GEARS TO USE: Some people think that if they use the highest gear on a bike that they will put out more power. This is not always the case. Charging a battery is like climbing a hill on you’re your bicycle. When you go to climb a hill, you must shift down to lower gears to be able to pedal. Charging a battery is the same thing. So the answer is start with a lower gear and increment the gear level one at a time until you get the level your body feels comfortable putting out its maximum power.
SETUP INSTRUCTIONS: This system takes about 5 minutes to setup. Here are the steps:
Install a rear tire on your bike that has a small surface. This is to minimize frirction and noise and is most efficient.
Inflate your rear tire to its maximum allowed pressure plus 10%.
Open up stand and set it on the floor
Open up the clamping mechanisms on the stand that hold the back axle of your bike.
Lower the metal roller down to allow insertion of your bike
Set the bike onto the stand with help of a friend if possible.
Adjust the clamps such that the rear tire is centered on the metal roller.
Tighten the clamps down with approximately 20 ft-lbs of force – or as hard as you can with your hands without causing personal injury or pain in your fingers
Adjust the two large feet supporting the generator such that the generator is level and touches the rear tire.
Have some one look at the power meter on the generator face while you pedal the bike generator. At a casual pace the observer should see around 4 to 20 Volts DC on the power meter with no load attached to the output of the generator. If none is seen then contact us for help.
Connect your 12V battery or portable power station / solar generator
Get on the bike and pump your legs
Have some one watch the power meter in the back to verify that you are putting out power.
CUSTOM CABLES
Contact Brad if you need help with a custom cable such as connecting an XT90 to an Ecoflow power station.